Before you configure the router, you will need an e-mail from Acanac with your account settings. They usually send it to you 2-3 days after you open your account and it will have a subject like "Your Soft Phone order at Acanac is ready". In the e-mail you will find your phone number, the password and the domain (the SIP server).
Connecting the adapter:
If you use a router for your internet connection (or if your modem has a built in router) then connect the WAN port (blue on SPA2102) to one of the LAN ports of your router and leave the LAN port (yellow on SPA2102) disconnected. Then connnect a phone to the Phone 1 port and dial ****7932#1#1 then hang up (this will enable web access to the ATA from its WAN side). Then pick up the phone again and dial ****110#. The adapter will read back (with voice) its IP address (something like 192.168.1.102). Open a web browser and enter that address.
If you don't use a router for your internet connection (your computer is connected directly to the modem) then connect the WAN port (blue on SPA2102) to your modem, and the LAN port (yellow on SPA2102) to your computer. disconnected. Then connnect a phone to the Phone 1 port and dial ****7932#0#1 then hang up. Then open a browser and enter the ip address 192.168.0.1 to access the ATA's web interface for the rest of the configuration. Also you will have to reboot your modem (disconnect the power cord and plug it back in).
When you access the web interface of the SPA2100/2102, a page similar to this will come up. Enter the Voice settings at the top of the screen:
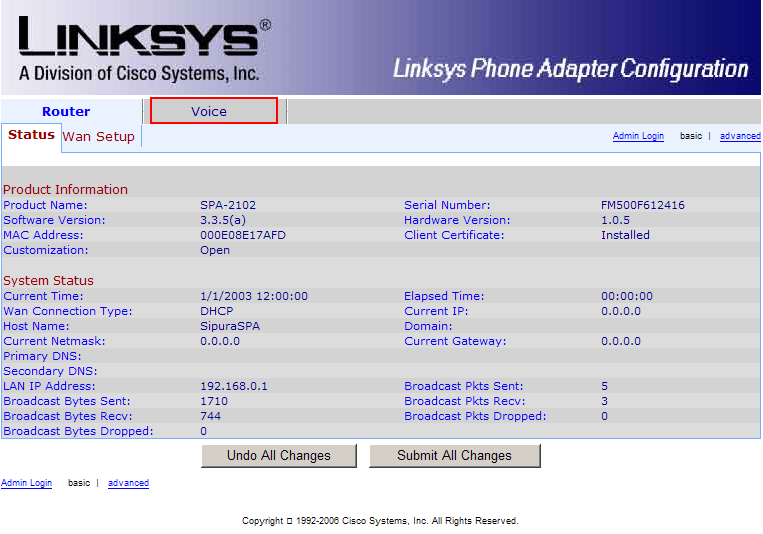
Then click Admin Login and Advanced on the right hand side:

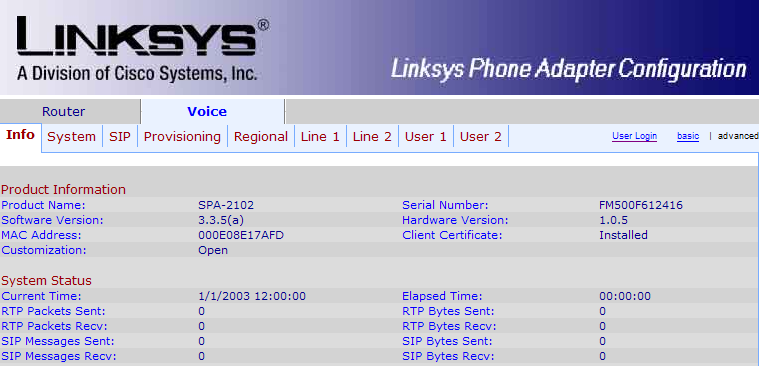
In the end, the tabs available should look like this:
First, we'll adjust some of the SIP parameters, so click the SIP submenu.
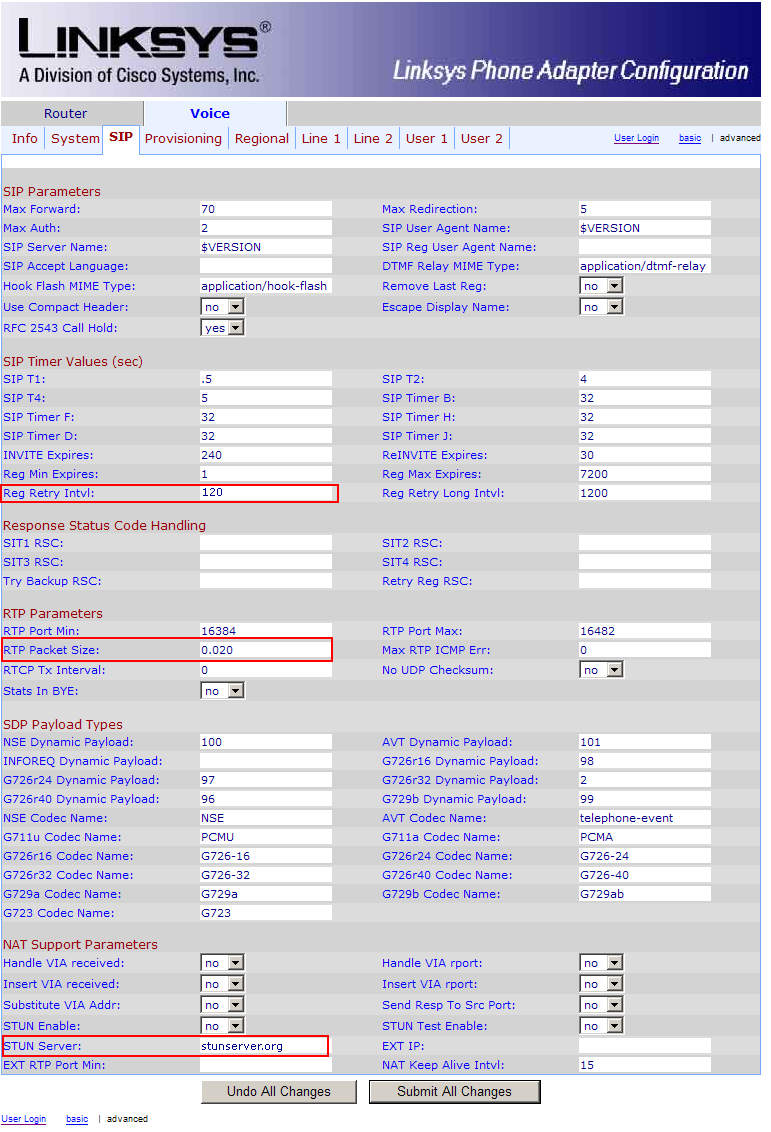
Change the following parameters:
(in the middle of the page)
- RTP Packet Size: 0.020
- STUN Server: stunserver.org
Now click the Line 1 submenu
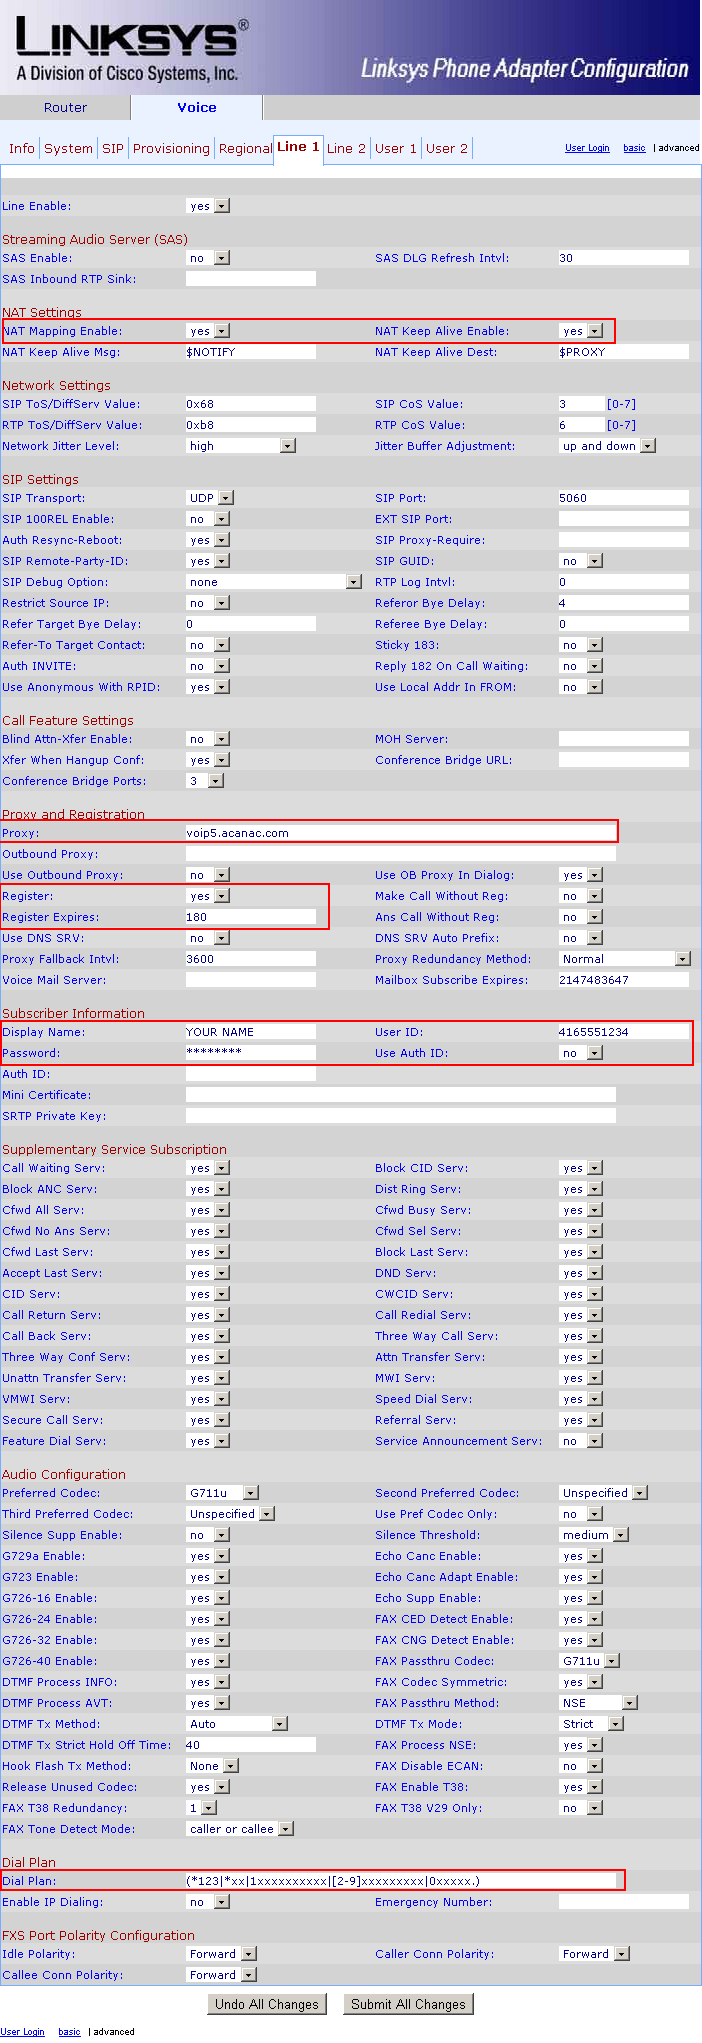
Enter the following settings:
(at the top of the page)
- NAT Mapping Enable: yes
- NAT Keep Alive Enable: yes
(about half way down on the page)
- Proxy: this is the Domain from the e-mail they sent you with the account settings. Something like 66.49.255.42 or voip5.acanac.com
- Register: yes
- Register Expires: 180
- Display Name: enter your name here
- User ID: this is the number that Acanac gave you, something like 6471234567
- Password: the account password, a combination of letters and numbers (it's in the e-mail they sent you with the softphone configuration)
- Dial Plan: use the following string (including parentheses)
(*123|*xx|1xxxxxxxxxx|[2-9]xxxxxxxxx|0xxxxx.)
That is all, click Save Settings at the bottom to save all the changes. The adapter will reboot and after 2-3 minutes you should get dial tone and should be able to place and receive calls.