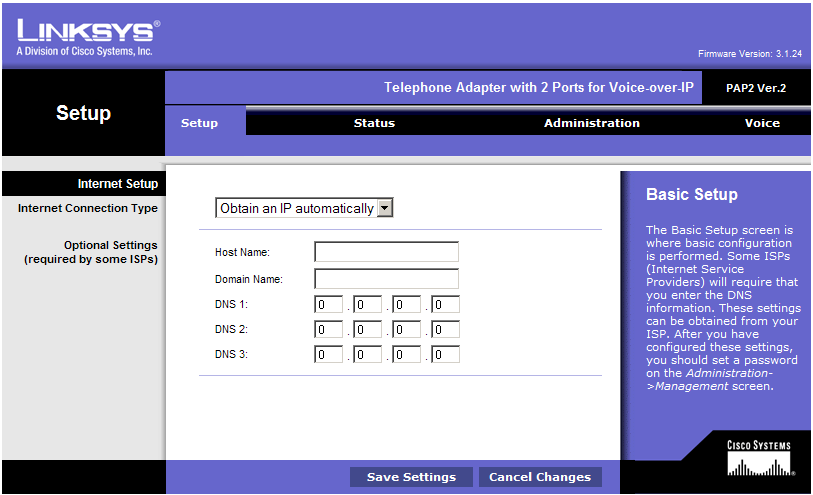
Connect the power, an Ethernet cable to your router and a phone to Line 1. Find out the adapter's IP address from your router's DHCP list (see some samples for different router brands here), then open a web browser (Internet Explorer) and type in that address. The default username is admin and the password is admin.
Click Voice from the top menu to get into the VoIP settings section.

Now click Admin Login on the right then Switch to Advanced view in the middle, to get access to Advanced VoIP settings pages.
Now you're ready to configure the VoIP settings. First, we'll adjust some of the SIP parameters, so click the SIP submenu.

Change the following parameters:
(in the middle of the page)
- RTP Packet Size: 0.020
(at the bottom of the page):
- Handle VIA received: Yes
- Handle VIA rport: Yes
- Insert VIA received: Yes
- Insert VIA rport: Yes
- Insert VIA rport: Yes
- Substitute VIA Addr: Yes
- STUN Enable: Yes
- STUN Server: stunserver.org
Now click the Line 1 submenu
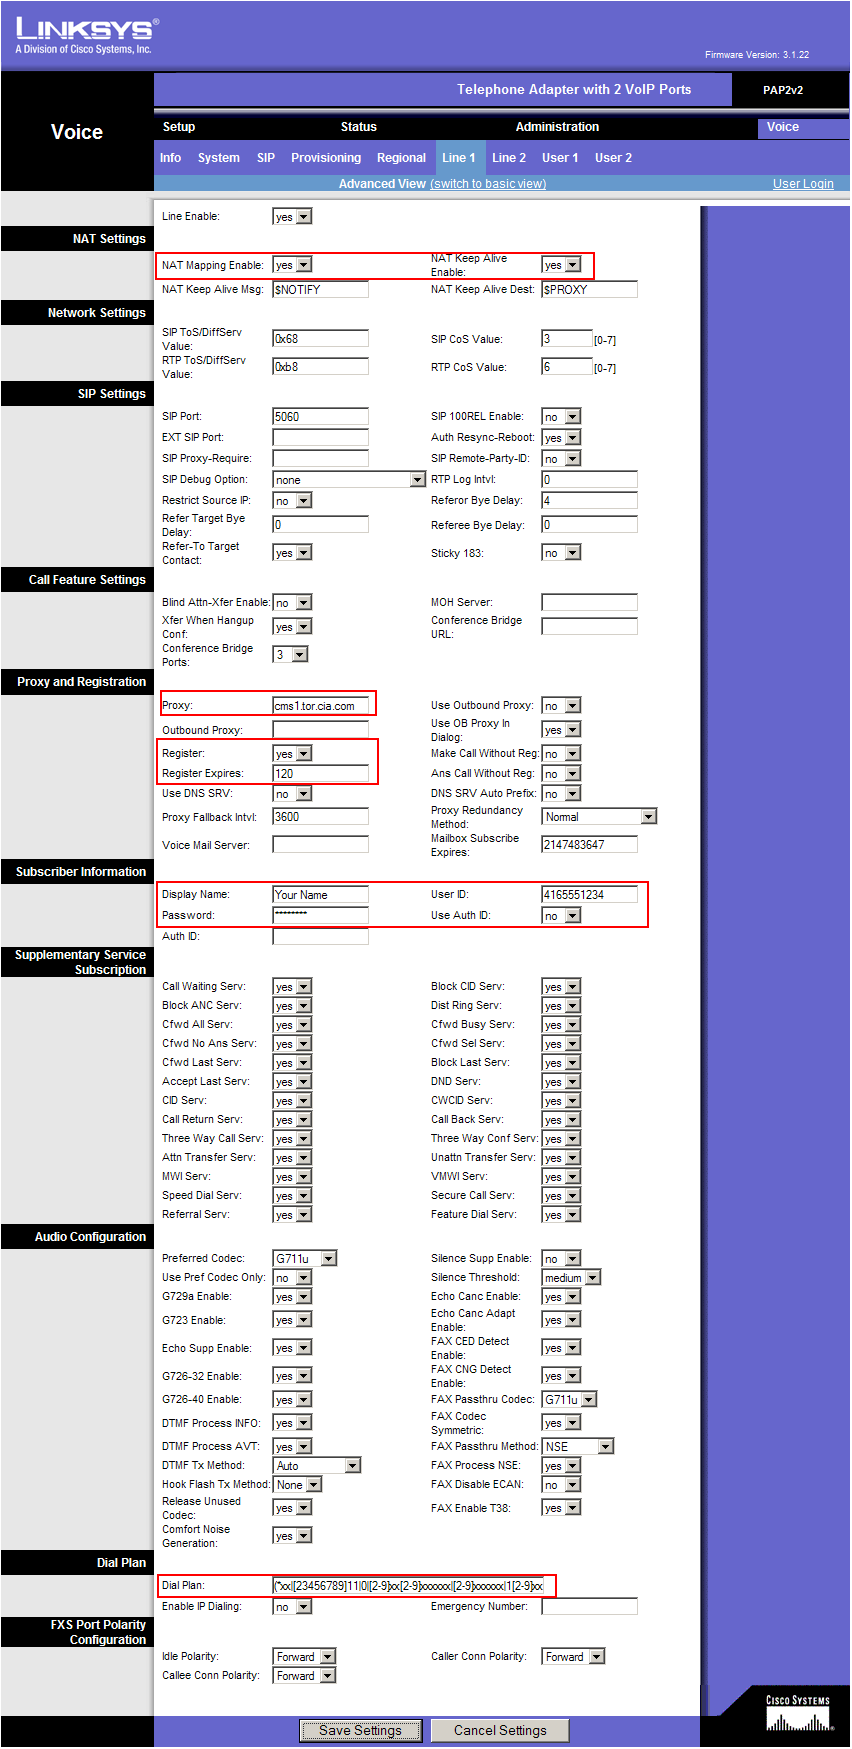
Enter the following settings:
(at the top of the page)
- NAT Mapping Enable: yes
- NAT Keep Alive Enable: yes
(about half way down on the page)
- Proxy: the SIP server (the value found under Proxy_1_ in the configuration file from CIA)
- Register: yes
- Register Expires: 180
- Display Name: enter your name here
- User ID: this is your phone number, as found under User_ID_1_ in the configuration file
- Password: the SIP password from (found in the configuration file, under Password_1_)
- Dial Plan: use the following string (including parentheses)
(*xx|[23456789]11|0|[2-9]xx[2-9]xxxxxx|[2-9]xxxxxx|1[2-9]xx[2-9]xxxxxxS0|011xxxxxxxxxxxx.)
That is all, click Save Settings at the bottom to save all the changes. The adapter will reboot and after 2-3 minutes you should get dial tone and should be able to place and receive calls.